Electroculture is a fascinating and innovative method that involves using electrical fields to stimulate plant growth. This technique has been gaining popularity among gardeners and farmers who are looking to enhance their crop yields and promote healthier plants without relying on chemical fertilizers. One of the key components in electroculture is the electroculture antenna. In this guide, we will explain how to make electroculture antenna DIY style. This step-by-step guide will help you create an effective electroculture antenna using simple materials and techniques.
Understanding Electroculture
Before diving into the details of how to make an electroculture antenna DIY, it’s important to understand what electroculture is and how it works. Electroculture is the practice of using electrical currents to influence plant growth. The concept dates back to the 18th century, but modern advancements have made it more accessible and practical for today’s gardeners and farmers.
Electroculture works by using antennas to capture atmospheric electricity, which is then channelled to the plants. This process can enhance nutrient absorption, increase growth rates, and improve overall plant health. By using an electroculture antenna, you can boost your garden’s productivity in an eco-friendly way.

Materials Needed for DIY Electroculture Antenna
To begin your project on how to make an electroculture antenna DIY, you will need the following materials:
- Copper wire (12-14 gauge): This will be used to create the antenna coil.
- Wooden or metal rod: To support the antenna.
- Insulating tape: To protect the connections.
- Grounding rod: Essential for proper grounding.
- Alligator clips: For easy connections.
- Multimeter: To check the electrical connections.
Step-by-Step Guide on How to Make Electroculture Antenna DIY
Step 1: Preparing the Copper Wire
Start by measuring and cutting a length of copper wire that is appropriate for your garden size. A typical length is between 3 to 5 meters. Use a wire stripper to remove the insulation from both ends of the wire.
Step 2: Creating the Coil
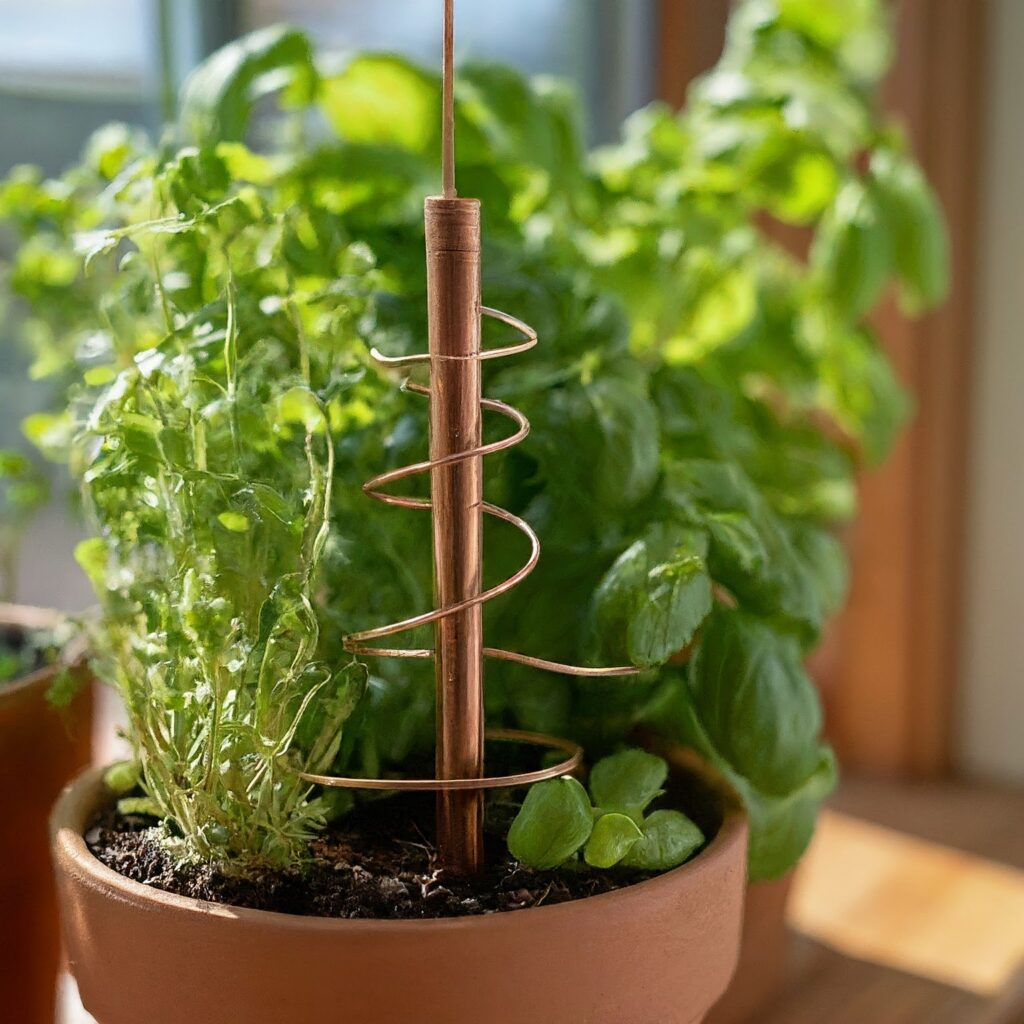
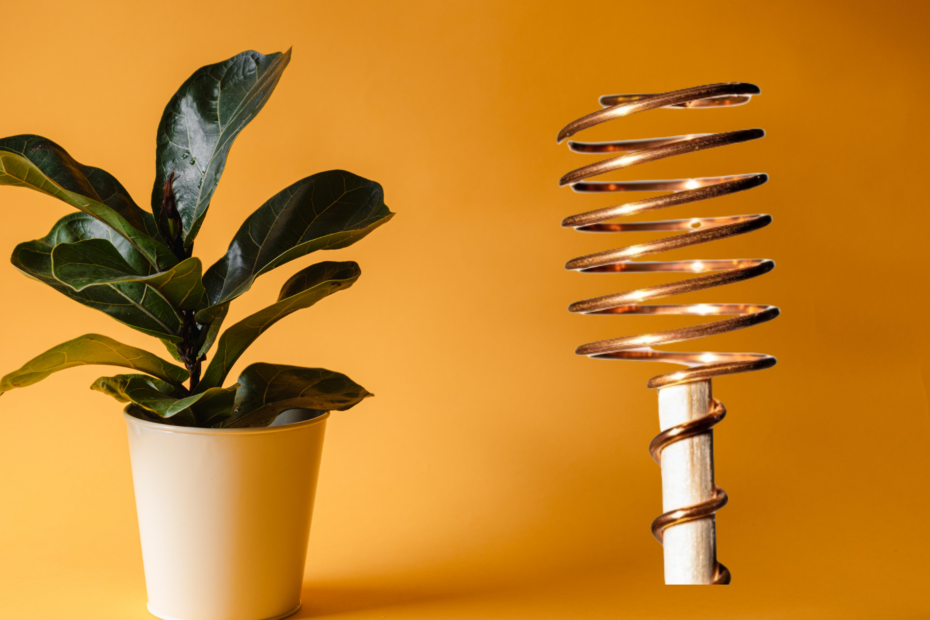
Next, create a coil with the copper wire. Wrap the wire around a cylindrical object, such as a PVC pipe, to form a tight coil. This coil will act as the main part of your electroculture antenna, capturing the atmospheric electricity.
Step 3: Mounting the Antenna
Mount the coil on a wooden or metal rod. Ensure the rod is tall enough to be above the plants but stable enough to withstand wind and weather conditions. Secure the coil to the rod using insulating tape.
Step 4: Grounding the Antenna
Proper grounding is crucial for the efficient functioning of your electroculture antenna. Connect one end of the coil to a grounding rod using an alligator clip. The grounding rod should be inserted into the soil near your garden to ensure a good ground connection.
Step 5: Testing the Connections
Use a multimeter to test the electrical connections. Check the continuity of the coil and ensure there is a proper ground connection. This step is essential to verify that your electroculture antenna is set up correctly.
Enhancing Your Electroculture Antenna
If you are looking to optimize your DIY project on how to make an electroculture antenna DIY, consider the following enhancements:
Adding Aluminium Foil
Wrap the copper wire coil with aluminium foil to increase its conductivity. Ensure the foil is tightly wrapped and secured with zip ties.
Insulating the Coil
Insert the coil into plastic tubing to protect it from moisture and environmental damage.
Adjustable Height
Customize the height of your antenna by using adjustable rods. This allows you to position the antenna optimally for your garden.
How to Build an Electroculture Antenna?
When discussing how to make an electroculture antenna DIY, it’s also useful to understand how to build an electroculture antenna from scratch. The process involves similar steps but focuses more on the structural integrity and effectiveness of the antenna.
Building an electroculture antenna requires careful attention to detail. Start by selecting high-quality materials such as copper wire and sturdy rods. The coil should be wrapped tightly to ensure maximum efficiency in capturing atmospheric electricity. Proper grounding is essential to avoid electrical mishaps and ensure the antenna functions correctly. Regular maintenance and testing of the connections will help keep your electroculture antenna in optimal working condition.
Can You Use Copper Pipe for Electroculture Antenna?
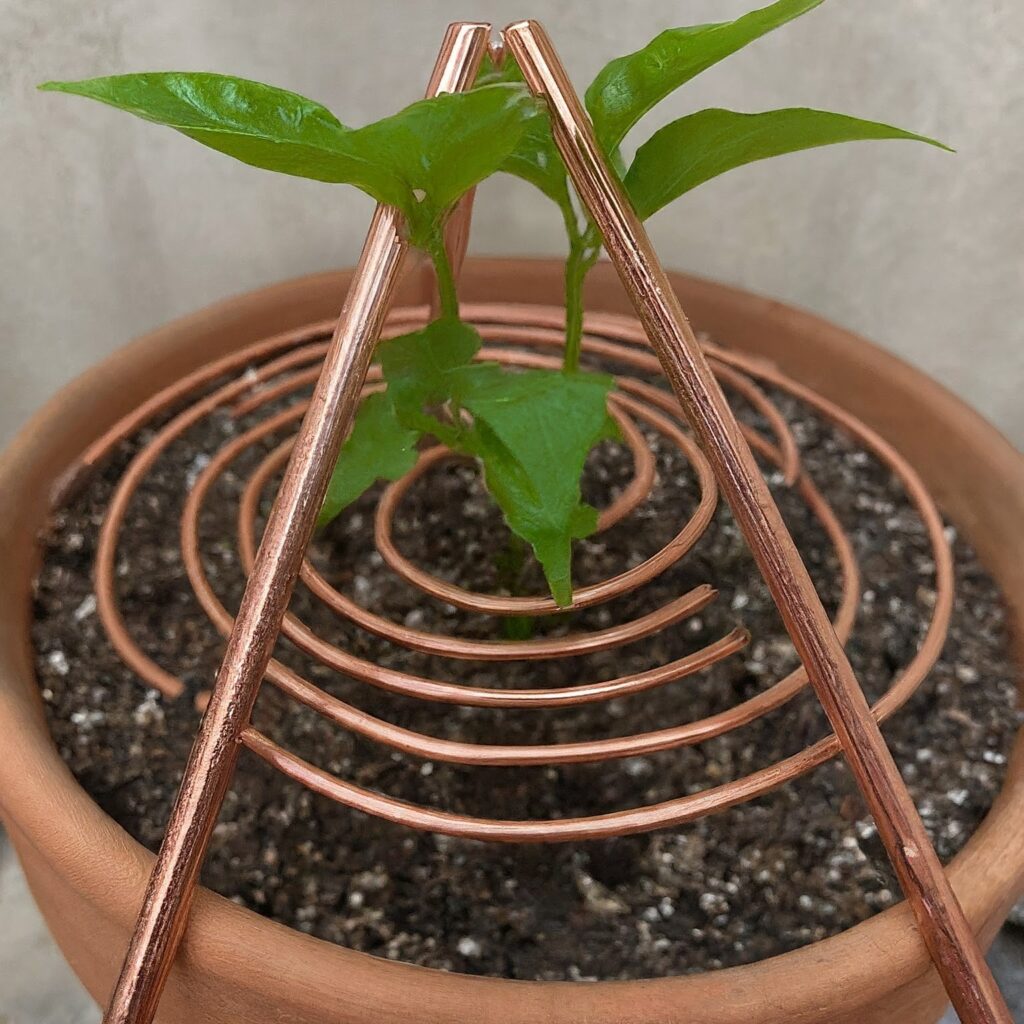
Can you use copper pipe for electroculture antenna? Yes, you can use copper pipe for an electroculture antenna. Copper pipes are more rigid than copper wire, which can make them more challenging to wrap into a coil. However, if properly configured, they can be effective in capturing and directing atmospheric electricity to enhance plant growth. To use a copper pipe for electroculture antenna, ensure it is well-grounded and securely mounted to provide stability and effectiveness.
What Direction is the Spiral in Electroculture Antenna?
What direction is the spiral in electroculture antenna? The direction of the spiral in an electroculture antenna typically follows the natural curvature of a clockwise or counterclockwise direction. This is important because the direction can influence the way atmospheric electricity is captured and directed to the plants. When creating the spiral for an electroculture antenna, choosing a consistent direction helps in maintaining the efficiency and effectiveness of the antenna.
What is the Fibonacci Spiral in Electroculture Antenna?

What is the Fibonacci spiral in electroculture antenna? The Fibonacci spiral in an electroculture antenna refers to the use of the mathematical Fibonacci sequence to create the coil. This sequence, where each number is the sum of the two preceding ones, creates a natural spiral pattern found in many forms of nature. Using the Fibonacci spiral in an electroculture antenna can enhance the capture of atmospheric electricity by mimicking these natural patterns, potentially leading to more efficient growth stimulation for plants.
How to Wrap Copper for Electroculture Antenna?
How to wrap copper for electroculture antenna? To wrap copper for an electroculture antenna, start by selecting the appropriate gauge of copper wire, typically 12-14 gauge. Measure and cut a suitable length of wire, then wrap it around a cylindrical object like a PVC pipe to form a tight coil. Secure the coil with insulating tape to prevent unwinding. Properly wrapping copper for an electroculture antenna ensures effective capture and direction of atmospheric electricity, enhancing plant growth.
Benefits of Electroculture
Using an electroculture antenna in your garden has numerous benefits. Here are some key advantages:
- Enhanced Plant Growth: By stimulating plant cells, the antenna promotes faster and healthier growth.
- Reduced Chemical Use: Electroculture reduces the reliance on chemical fertilizers and pesticides, making your garden more organic.
- Increased Yield: Many gardeners report a significant increase in crop yield after implementing electroculture techniques.
- Eco-Friendly: This method supports sustainable farming practices by utilizing natural atmospheric electricity.
Common Challenges and Solutions
While learning how to make an electroculture antenna DIY, you might encounter some challenges. Here are a few common issues and their solutions:
Poor Ground Connection
Ensure the grounding rod is inserted deeply into the soil and that the connection is secure. Using a longer grounding rod can help improve the ground connection.
Inconsistent Performance
Regularly check the antenna for any signs of wear or damage. Clean the coil and grounding rod to remove any debris that might affect performance.
Electrical Interference
If you experience electrical interference, try repositioning the antenna or using shielding materials to minimize the impact of nearby electrical devices.
Maintenance Tips
To ensure your electroculture antenna functions effectively, regular maintenance is necessary. Here are some tips:
- Check Connections: Regularly inspect the electrical connections for any signs of wear or damage.
- Clean the Antenna: Keep the coil and grounding rod clean and free from debris.
- Monitor Plant Response: Observe your plants regularly to see how they are responding to the electroculture method. Adjust the antenna height and positioning as needed.
DIY Electroculture Antenna Success Stories
Many gardeners have successfully implemented electroculture antennas in their gardens. These success stories highlight the potential benefits and practical applications of this innovative method. Here are a few examples:
Urban Gardeners
Urban gardeners have found electroculture antennas particularly useful in small garden spaces. By optimizing plant growth, they can maximize their yield even in limited areas.
Organic Farmers
Organic farmers appreciate the reduced need for chemical fertilizers and pesticides. Electroculture antennas help them maintain organic farming standards while boosting productivity.
Hobby Gardeners
Hobby gardeners enjoy experimenting with new techniques. Building and using an electroculture antenna has become a rewarding project that enhances their gardening experience.
Conclusion
Building an electroculture antenna is a rewarding project that can significantly improve your garden’s productivity. By following the steps outlined in this guide on how to make an electroculture antenna DIY, you can harness the power of atmospheric electricity to promote better plant growth. Whether you choose to follow the standard method or opt for a DIY approach, the benefits of electroculture are clear. Enhance your gardening practices and enjoy the fruits of your labour with this innovative technique.
